Ah Granola. So easy to make and so easy to customize to your own specific tastes and so very very awesome. It’s irresistible straight and hot out of the oven, beautiful when mixed with yogurt, an easy energy snack for hiking. The effort involved is minimal. About five minutes prep time and one hour fifteen minutes of cooking with minimal oversight. It’s also cost-effective but you have to commit to making more than one batch. The primary expense comes from the maple syrup (each bottle will get you three granolas) and the nuts. The original recipe I used years ago had one quarter cup of brown sugar and more maple syrup but I have decreased it over time to fit my own tastes. The ratio below has a light sweetness instead of an overwhelming one.
Ingredients
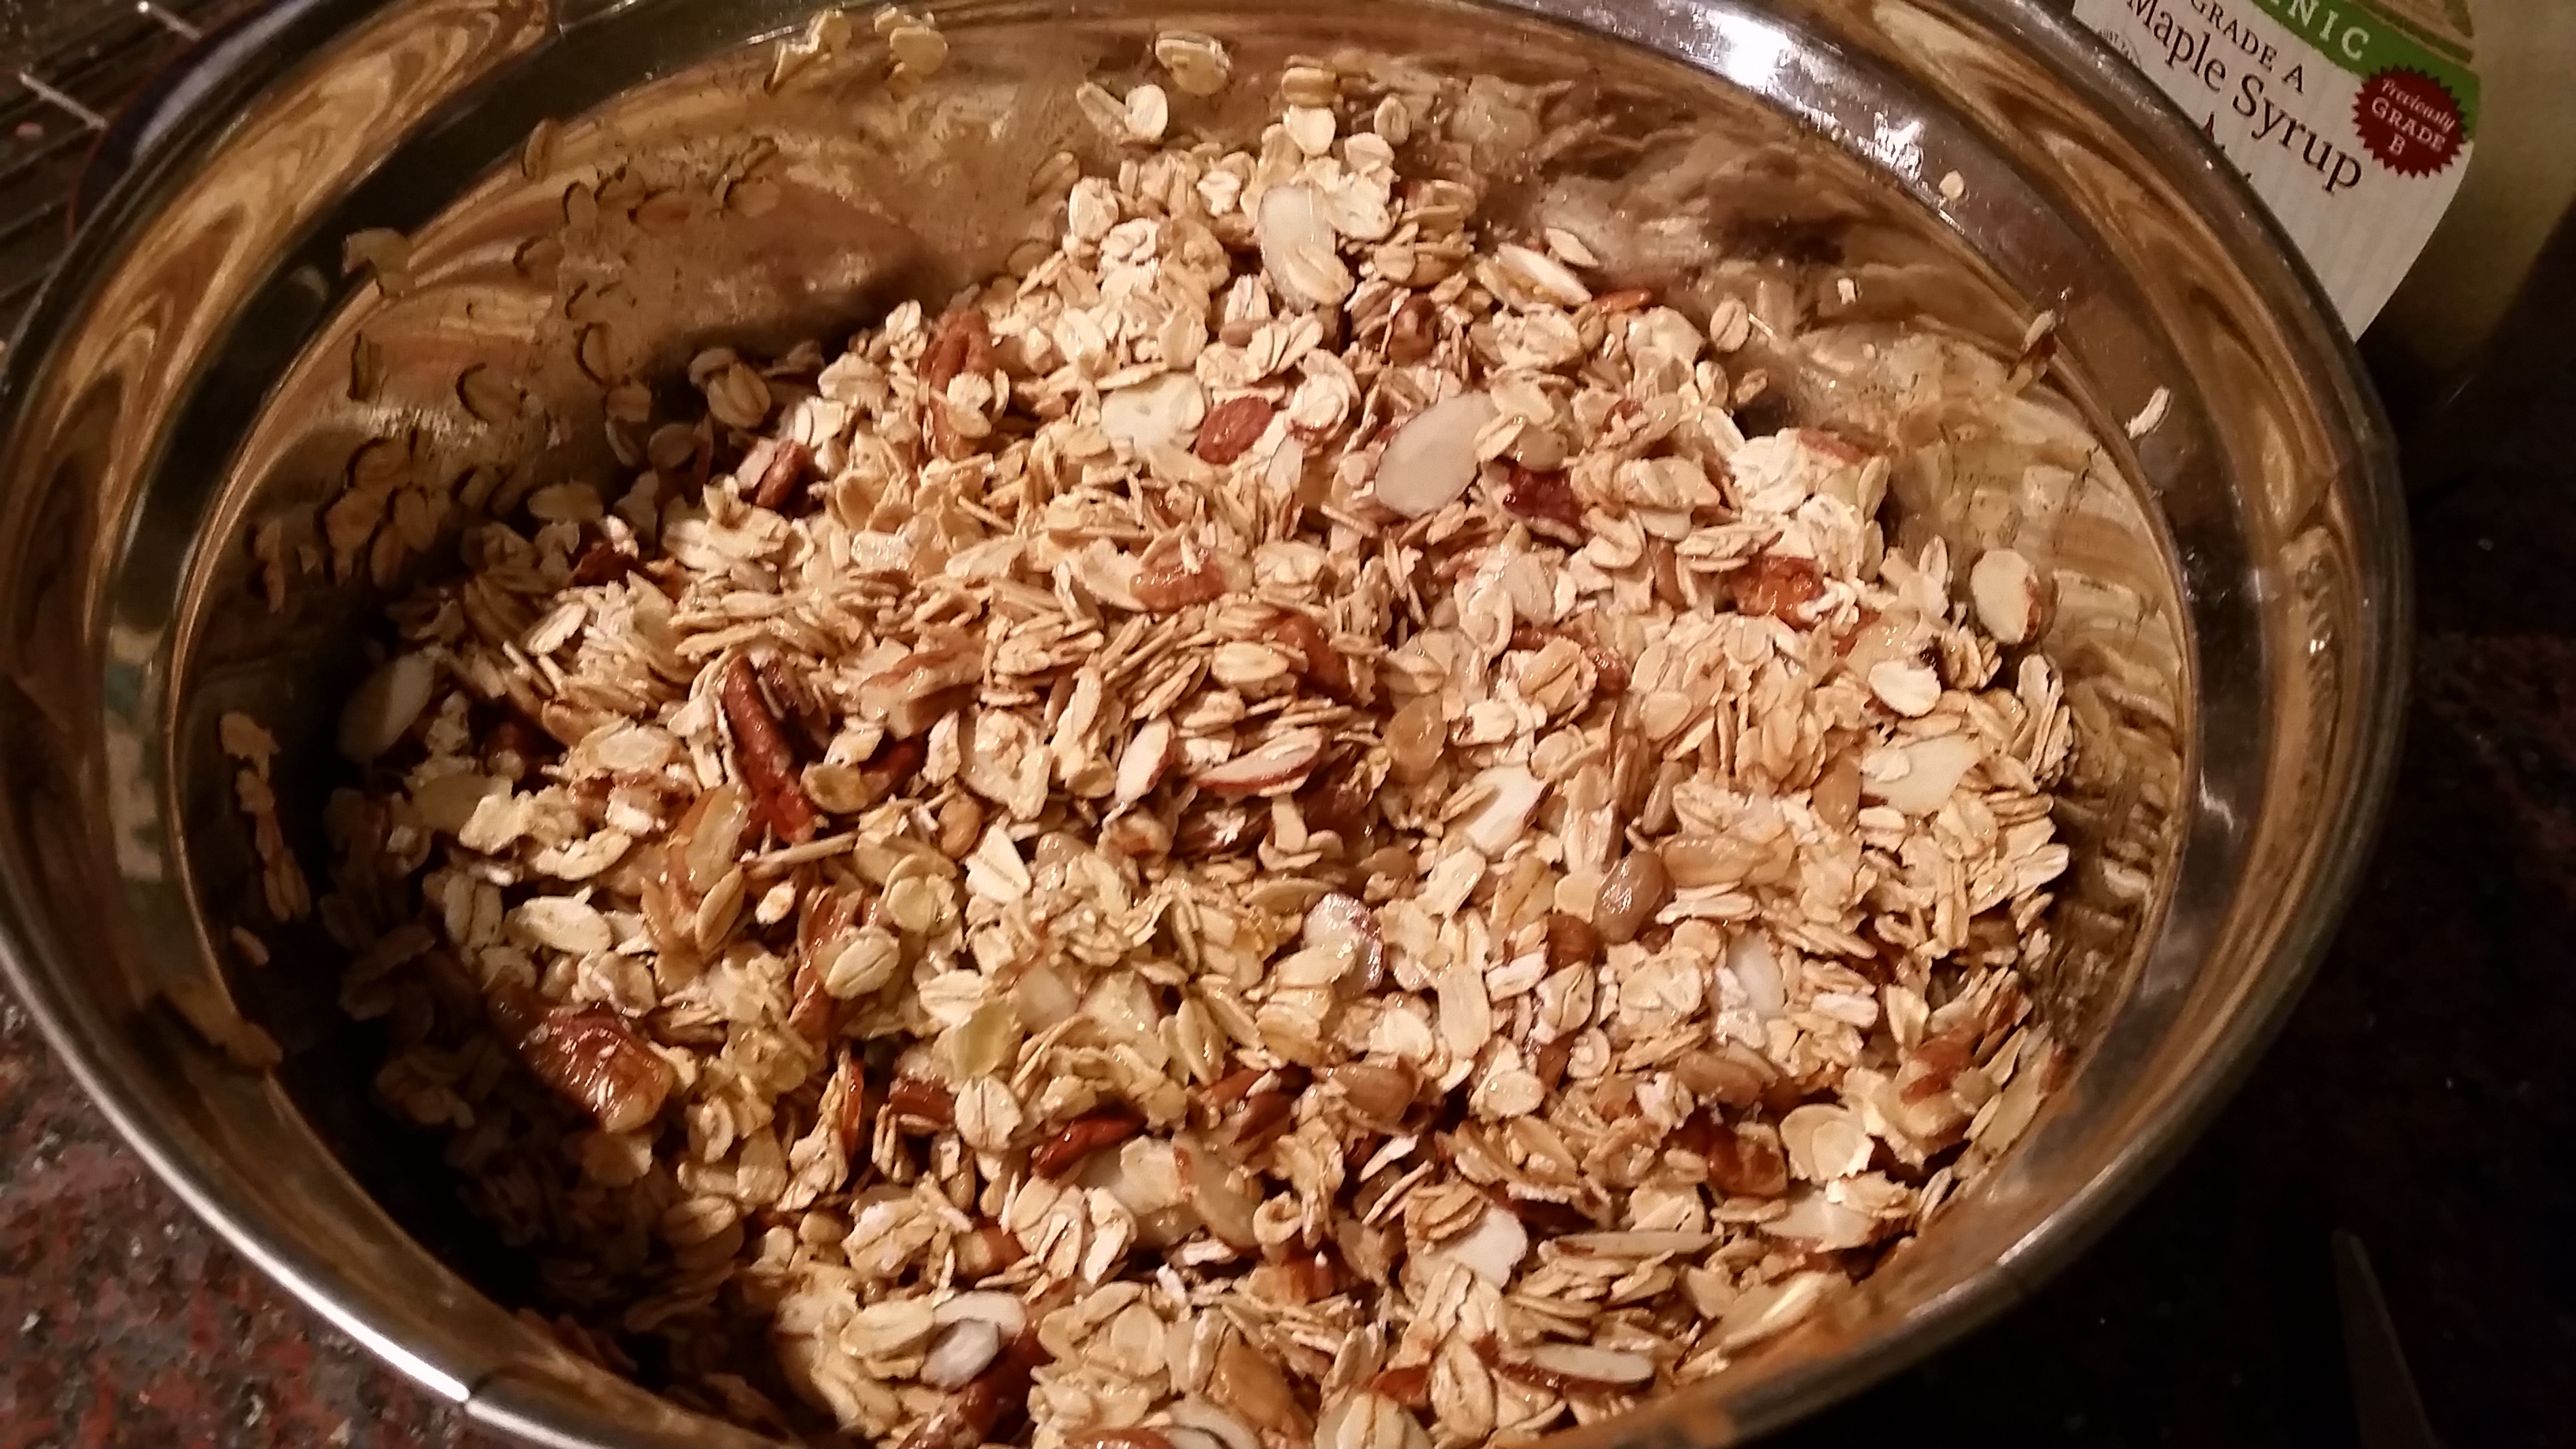
Three Cups Old-Fashioned Rolled Oats
Only use rolled oats as steel cut or instant oats do not work for granola. In the picture I have the Whole Foods brand but the most consistent brand I’ve found for granola is Quaker Oats. Other brands are dustier and woodsier whereas Quaker toasts quite nicely.
One Quarter Cup Oil
Use a neutral oil. I use Canola but I’ve used Vegetable Oil in the past.
One Quarter Cup Maple Syrup
I’ve used many different brands, I’ve used dark and light, Grade A and Grade B. They all work well.
Nuts
I always have sliced almonds at a minimum and often add sunflower seeds. I have been successful with peanuts, cashews, walnuts, pecans, and hazelnuts. Crush larger nuts into smaller pieces. I try to get untoasted nuts so that they toast in the oven with the granola. Quantity wise just eyeball it but I usually have about a 2 to 1 oats to nuts ratio.
UPDATE: I think my ratio is actually closer to 4:3 ration for to oats to nuts. Really it comes down to preference. I prefer more nuts due to the nutritional and taste punch as well as the fact that more nuts satisfies hunger more readily.
Other Goodies [optional]
I keep my granola relatively straightforward these days but you can consider things like coconut flakes, banana chips, chocolate chips, dried fruit, etc. Some items you may want to toast and others you may want to add after the fact.
UPDATE: I tried using millet a couple of times. The granola becomes crispier and crunchier so if you want something along those lines millet is an easy way to achieve that kind of texture. Push the toasting temperature up to 300 degrees, which also helps with the crunchiness and lends a beautiful dark and golden hue to the granola. A higher toasting temperature is also more effective if you’re using slivered almonds instead of sliced, or adding cashews, as they roast more easily instead of remaining chewy.
Flavorings [optional]
Plenty of options here. I often add peanut butter, which increases the nuttiness with a different type of texture. I like cinnamon as well. Pumpkin puree, ginger, other spices are all options. Mix these with the dry ingredients at the beginning.
UPDATE: Consider adding paste-type ingredients, such as peanut or almond butter, or purees, to the wet ingredients to make a slurry. This facilitates the creation of clusters if you prefer that over looser granola. Just be more careful during the toasting process not to disrupt the clusters.
Directions
- Preheat the oven to 250 degrees Fahrenheit. Line a baking tray with parchment paper (or wax paper, don’t use aluminum foil).
- Mix the dry ingredients – oats, nuts, flavorings, other goodies.
- Add in the oil and then the maple syrup. Mix well until the oats are all “wet.” The oil is important as it helps to drive better toasting.
- Bake for one hour. Remove from the oven every twenty minutes to mix the oats around for more even toasting. You can probably skip this if you are super lazy.
- This step is optional. After one hour, remove from the oven and drizzle generously with maple syrup (perhaps an eighth of a cup or so). You can use honey as well if you’d like. This step adds a bit more sweetness and more importantly facilitates chunking of the granola. If you like your granola loose, skip this step.
- Bake for another fifteen minutes.
- Remove from oven and let cool for at least twenty minutes. The syrup is still wet and needs time to harden so that it becomes more candy-like and delicious. Cooling also helps with chunking if you went with that step
- Put into a container, store, and enjoy. This lasts quite a while at room temperature so you should be set for some time with breakfast and snacking.